Profile Lighting for Dynamic Portraits

When lit correctly and used against a dark background, a portrait in profile can be one of the most dynamic images. There are, however, a few rules to keep in mind to make sure that the portrait flatters the subject and does not emphasize bad features.
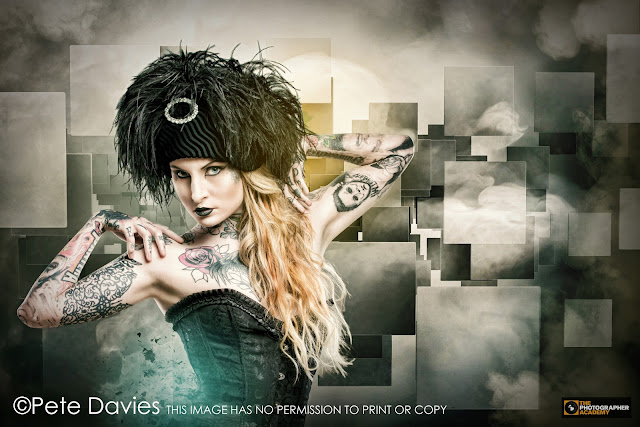
The first thing to consider with a profile shot is whether the style will suit your subject, as it will exaggerate the shape of both the nose and the chin.
Lighting a profile is simple. I generally prefer to use just two lights—a soft box as the main light to give the overall illumination and create the roundness of the face, and a second light to light the hair and chisel out the features, which will add to the drama of the portrait. I like the mood created by the touches of light on the planes of the face minimizing detail in the shadow. However, there may be occasions when you want to include a fill light to give more detail in the shadows.
Key Light
Fit the key light with a small soft box, as you are lighting only the head and shoulders of the subject. The soft box has many layers of diffusion to give a soft and gentle light, but you can control the specularity by removing one or more of the diffusion layers.
Position the key light at 45° to the subject; this creates the same characteristics as the 45° lighting technique, giving a shadow to the near cheek and slimming and defining the subject.
|
| The profile and 45° lighting - With the key light at 45° to the subject’s nose and the background, a shadow is created on the subject’s face and back, which gives beautiful modeling and a more dramatic mood. Even with the light in the correct position, the subject’s eyes look a little glazed because the soft box is reflected in the eye. |
If your subject’s skin is quite pitted and spotted, this lighting set-up could produce an unflattering image. To get around the problem, simply position the key light directly in front of your subject; this will diffuse the shadows of the pitting, giving a flatter lit portrait. However, the consequent reduction in modeling will also have the effect of making your subject’s face look fatter.
 | |||
| Flat lighting the profile - Positioning the key light directly in front of the subject creates a soft and gentle image. The lighting is flat and so any skin imperfections are naturally softened due to the lack of shadow—but note how the position of the key light has resulted in the eyes looking washed out and colorless. |
Hair Light
The hair light serves two roles in this style of lighting: not only does it give an outline to the subject and illuminate the top of the head and hair, but it also sharpens the profile and adds an added specula to the highlight, giving an accented light to the four planes of the face that are visible (namely, the forehead, nose, chin, and cheek). This has the effect of exaggerating the outline and any facial flaws even more.
Fill Light
There is often no need for a fill light in a profile set-up, as it will only serve to reduce the shadow on the side of the face nearest the camera, which will distract and give less impact. However, if you do require detail on the side of the face, set the fill light to 1 1⁄2 stops less than the key light and position it behind the camera, diffused to create a flat wash of light across the subject. If you are working on location and using a window to light the profile, position a reflector in front of the camera, make sure you do not light the back of the head and, if possible, take care not to draw too much attention to the ear.
Background Light
A background light is not essential, but if you do use one, you should do so discreetly, so as not to draw too much attention to the background.
A background light will naturally separate the subject from the background. If you use a gel on the background light to add color or if you light a colored background with a snoot or a honeycomb, the image will take on a very different mood. Do not light the background too brightly or you will distract the viewer’s eye from the subject.
 |
| Enhancing the eye color - In this shot, the key light is in the same position as in the shot opposite, but I asked the model to look slightly toward the camera. This reduces the amount of white of the eye that is visible and gives the iris more saturation in color. |
Tips:
If someone has a prominent nose, a profile shot is probably best avoided.
The most common fault with a profile portrait is the position of the eye: often the subject looks slightly away from the key light, resulting in too much white of the eye being visible. Ask your subject to look toward the edge of the soft box nearest the camera.
Use the natural flow of your subject’s hair to disguise any wrinkles on the neck.
by Mark Cleghorn
We have loads of films on lighting techniques on PhotoTraining4U you can find them by clicking HERE